
|
|
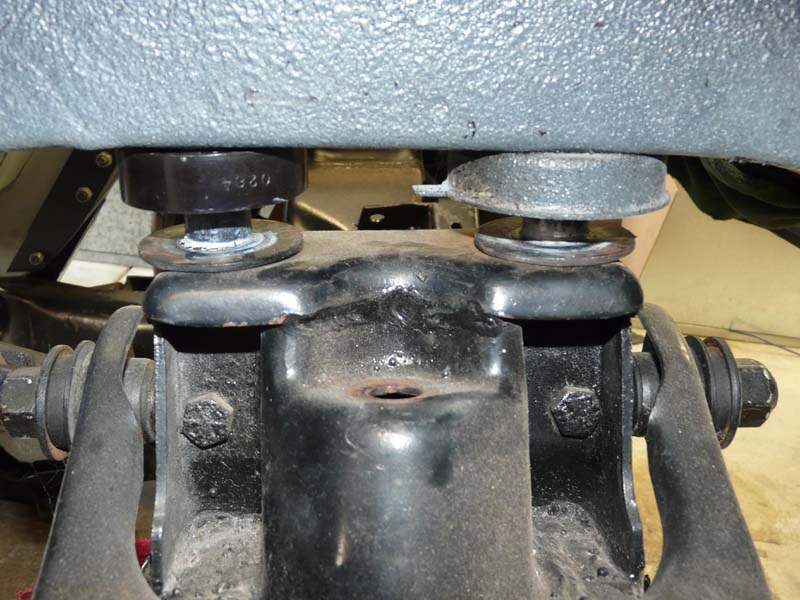
Check k-frame measurements Check the distance between the centres of the upper mount bolts match the the distance between the centres of the holes in the chassis rail. Typically it is around 31.25" (794 mm) between the centres. |
|
|
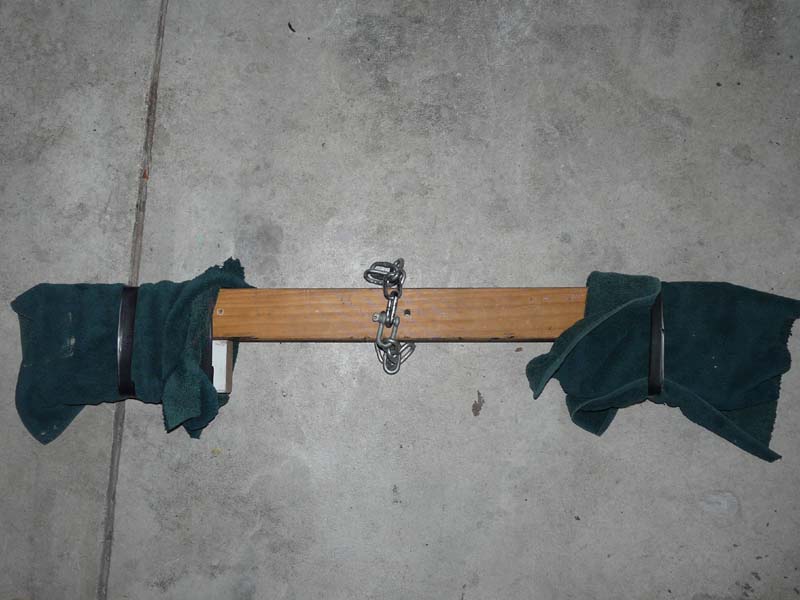
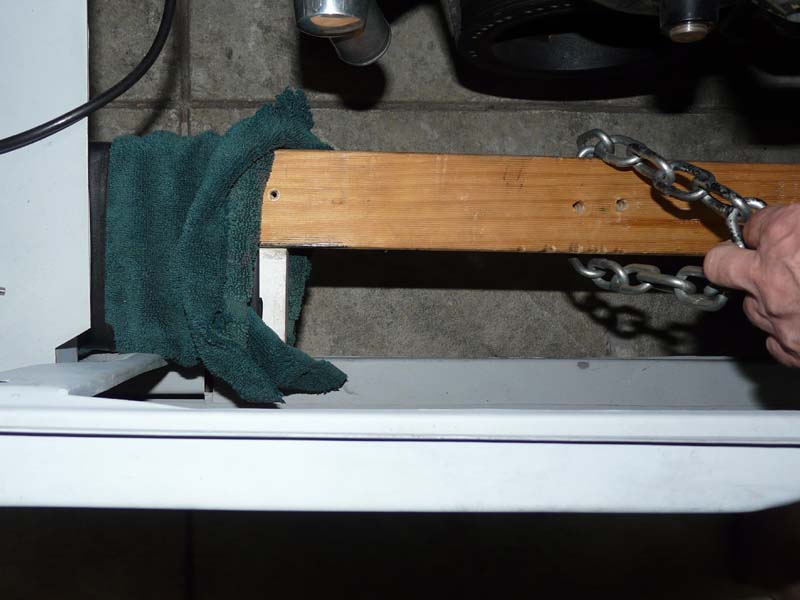
Structural 4 x 4 with 4 x 4 spacers and padding The spacers are to prevent the lifting chain from touching the radiator support panel. |
|
|
Lifting beam in position |
|
|
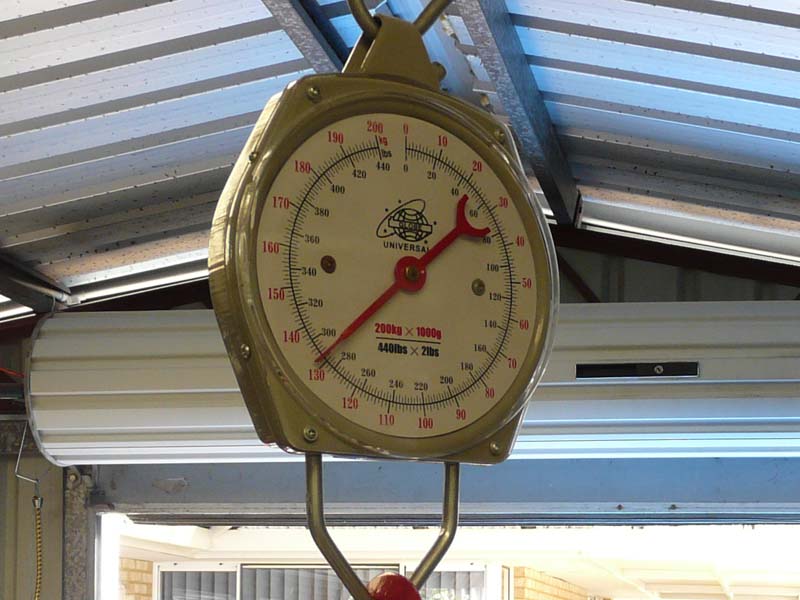
Bare LX hatch shell lifted at front with doors and hatch, no front panels or interior. Load 130 kg. |
|
|
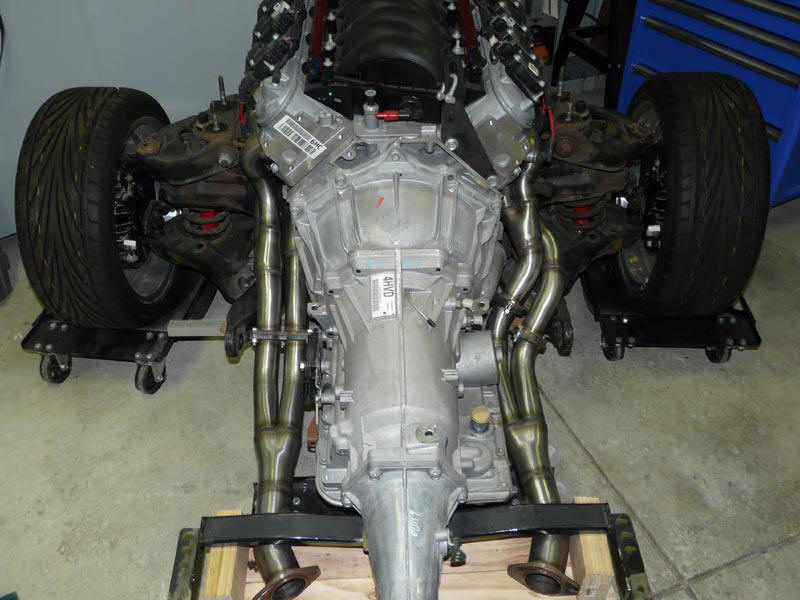
Note the aluminium bar bolted in the standard swaybar position to stop the k-frame from tilting up at the rear under the weight of the engine. If you have a rear mount swaybar then wrap some padding around the bar until the engine mounts are sitting flat. Set the gearbox dolly height so that the k-frame is slightly titled down towards the gearbox. You can use a level on the top k-frame mounts to check the angle. |

|
|
Engine rolled into position It is better not to use wheel dollies under the front wheels. A wheel dolly is required under the gearbox. It is easy to move the body of the car left and right when the front is hanging by the block and tackle. Moving the engine forward and back by turning the tyres is easier and more accurate than trying to push the dollies. |
|
|
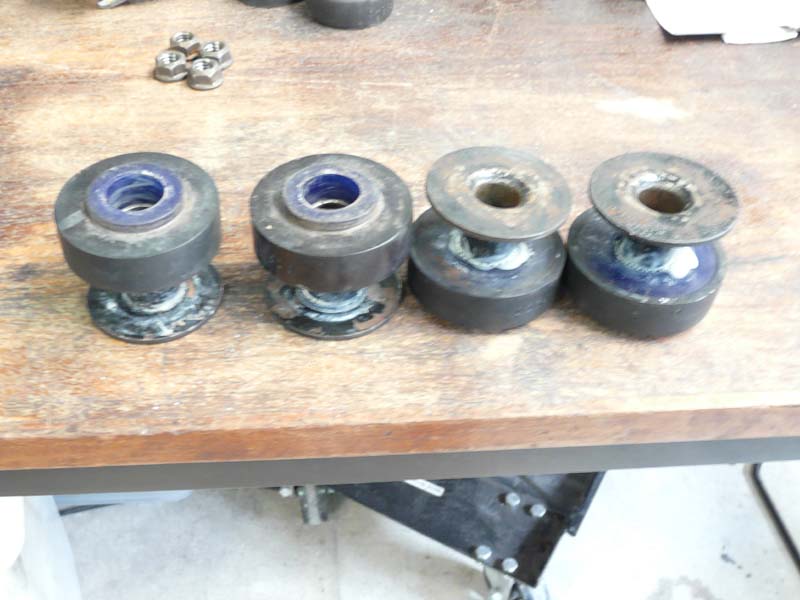
SuperPro mounting bushes. Slide the bushes to the end of the steel insert to assist in aligning the chassis rail holes to the k-frame. |
|
|
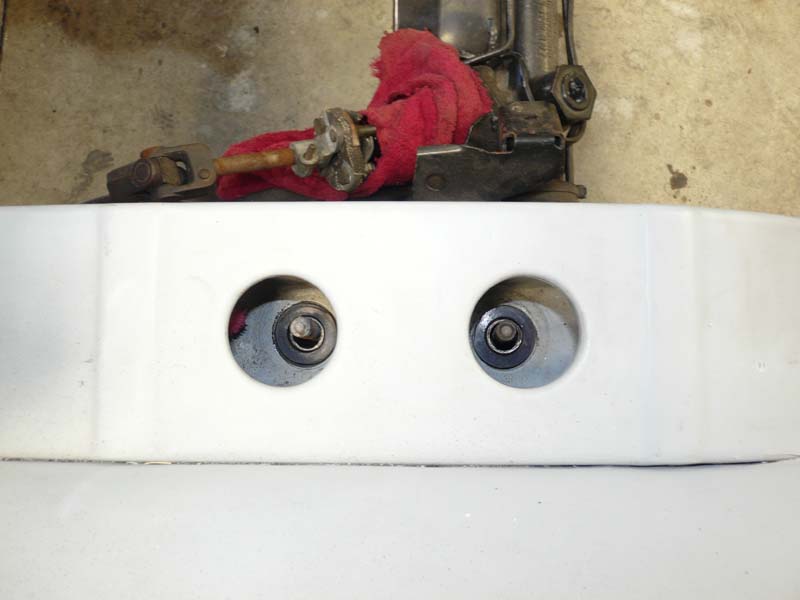
Bushes located in chassis rail and on k-frame As the body is lowered onto the k-frame the bushes will slide down the steel inserts which will help to align the k-frame to the chassis rails. |
|
|
Bushes located in chassis rail The mounting bolt protrudes around 1/2" beyond the nut when the bushes are tightened. The typicall 1/2" drive socket is not deep enough. You can get around this by not pushing the extension all the way into the socket however in my opinion it is worth purchasing a deep 5/8 socket for the job. |

|
|
A greased paint scraper is placed between the k-frame leg bush and the chassis rail mount to slide the bush over the mount as the body is lowered. A tie down/ratchet strap can be used to pull the k-frame legs together a couple of mm which makes it easier to slide the legs between the chassis rails. We are now ready to lower the body onto the k-frame. Lower the body 5 mm then check bush alignment and gearbox position. Repeat until body is sitting on k-frame. Don't forget to guide the steering uni onto the steering column as you lower the body. |
|
|
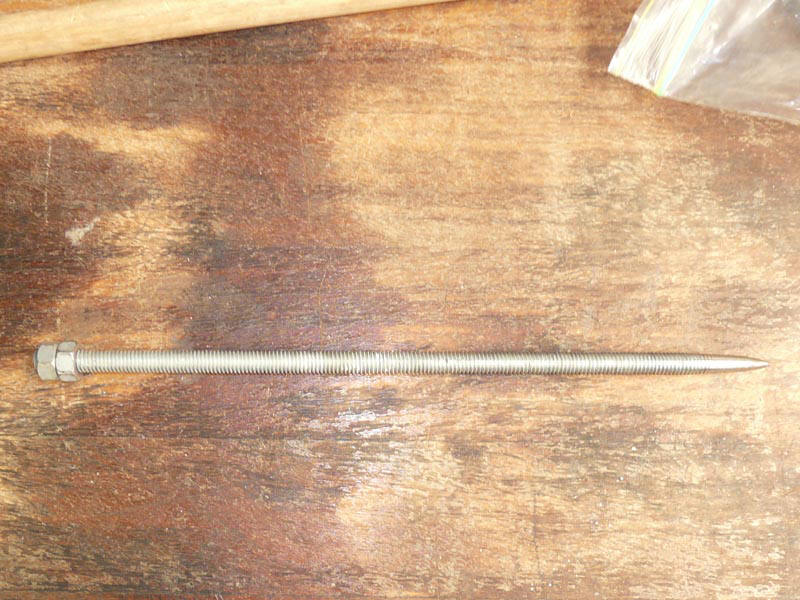
A tapered rod is used to align k-frame leg bushes. The point on the tapered rod is ground off centre to make it easier to align the bushes. Fit the tops of the upper chassis rail bushes and tighten the nuts just sufficiently to hold bush in place. The k-frame arms should have slid at least half way into position. Remove the paint scrapers and check bush alignment. You may need to use a jack to lift the k-frame legs into position. Use the tapered rod to centre the bush. Once all k-frame bush bolts are in place torque to specifications. |